Home Classes Tutorials Online Store Join

Friday, January 6, 2012

Modifying Your Sizzlit So Card Stock Doesn't Stick


If you're like me and a Big Shot fan, you probably already know which of your sizzlits have designs where it can take extra work to pop out the card stock after it is cut.  The designs are usually small, intricate and have a scalloped or serrated design.  The card stock seems to stick to the sizzlit after it is cut.  I found a tip on another blog that talked about using clear packing tape over the sizzlit so the card stock released more easily.  I can't remember who originally posted the idea.  If you know, please contact me so I can give the person credit.

I tried out the idea with one of my favorite sizzlit designs, the #5 Buttons Die.  You can't see it, but there is clear tape over the entire die. 


Can you tell that I only use the large button on the bottom right?  LOL. Turns out that it makes a great mat for a 1" circle.  That is how I made the mat for the center image on the card shown at the top of this post.  Anyway, the scalloped edge and those buttonholes in the middle seemed to hold the card stock to the die.  I put the clear packing tape (sticky side down) over the sizzlit.  That makes the surface of the die slick enough so the card stock comes off much more easily.  Now that it's easier to use, you might see more of these scalloped circle mats in my projects! 

Here are other details about the card.  While it's a hybrid card using both the digital and rubber stamp versions of Apothecary Art, it could easily be made using only the rubber or digital version.


Because I plan to make several of these cards, it was easier to color the center image of the smallest label digitally and make multiple copies.  On my computer, I enlarged the image to about 300%, colored it and then returned it back to the original 1" size.  The background that is stamped in Lucky Limeade was done with a rubber stamp and then die cut with the Labels Collection Framelits.  The Framelits make it easy to see exactly where you are die cutting. 

Try out the packing tape modification with your sizzlits with intricate designs.  It can make some of those sizzlits your favorites again!

Note:  Adding packing tape to your sizzlit probably invalidates the 3 year warranty since you have modified the product.  Another alternative could be to use a shim of wax paper between the sizzlit and the paper you are cutting.  That way you aren't modifying the sizzlit, but you are adding a slick surface so your card stock doesn't stick.  I had tried that method but didn't like adding a piece of wax paper each time.  I saw a vendor at the Grapevine Rubber Stamp Festival who just left the same piece of wax paper in place.  DUH.  Both methods work.  Use the one that fits you best.

Visit my online store to get your supplies for this project.  Remember that when you purchase $25 or more in product, you are eligible for my Rewards Program.

Creatively yours,

Sharon Cheng
Richland Hills, TX
My Online Store

Saturday, December 24, 2011

Have a Meowy Christmas


This card is from my first guest blogger, Jordan Sparkman.  Jordan is my 9 year niece.  She made this card in My Digital Studio.

I made this card for my mom.  She and I love cats.  We have an orange cat at home named Stubby.  He has no tail but otherwise he looks like the cat in this card.  ~Jordan

And from Jordan and I, have a Meowy Christmas!

Creatively yours,

Jordan Sparkman and Sharon Cheng
My Facebook Business Page

Wednesday, December 21, 2011

Sneak Peek


Here is a sneak peek of some of the new designs and tools from the 2012 Occasions mini catalog.  This is a hybrid card that combines digital designing and traditional card making techniques.  The Christmas Wishes image and coloring is digital.  I used the My Digital Studio version of the Apothecary Art stamp set. I copied and pasted so that I could print 9 images on one 8 1/2 x 11 sheet of Whisper White card stock.  Each image is then die cut using the Labels Collection Framelit and Big Shot.


This is the first card that I made with the Apothecary Art Stamp brush set.  This card is 100% digital.  You can  more details about how I made this card in my December newsletter

One thing I missed when making the digital card was using the coordinating Framelits dies.  The nice thing about the Labels Collection Framelits is that there are a total of 6 labels in different sizes so you can make coordinating mats.  And the Apothecary Art images are designed to fit the Labels Collection Framelits.

There are two things that don't show up well in this photo. One is that I've used our new Cherry Cobbler Dazzling Details on the roses to give the card extra bling.  The other is the bottom edge of the card front.  While you can see the embossed impression from the Adorning Accents embossing folder, you have to look carefully to see the coordinating cut edge.  For that edge, I used the Adorning Accents Edgelit Die.  One advantage of the Framelits and Edgelits is that these dies let you see exactly where you're placing the design before you cut the card stock.

As a Stampin' Up! demonstrator, we can pre-order items from the new catalog one month ahead of time.  Otherwise, the items in the catalog are available to order starting January 4th.  If you would like a copy of the Occasions mini catalog, please contact me at sharon@sharoncheng.com.

Creatively yours,

Sharon Cheng
Richland Hills, TX
My Pinterest Boards

Tuesday, December 20, 2011

Last Items From Our Demonstrator Christmas Swap

Here are the last pictures of the items from our demonstrator Sneaky Santa Christmas gift exchange.

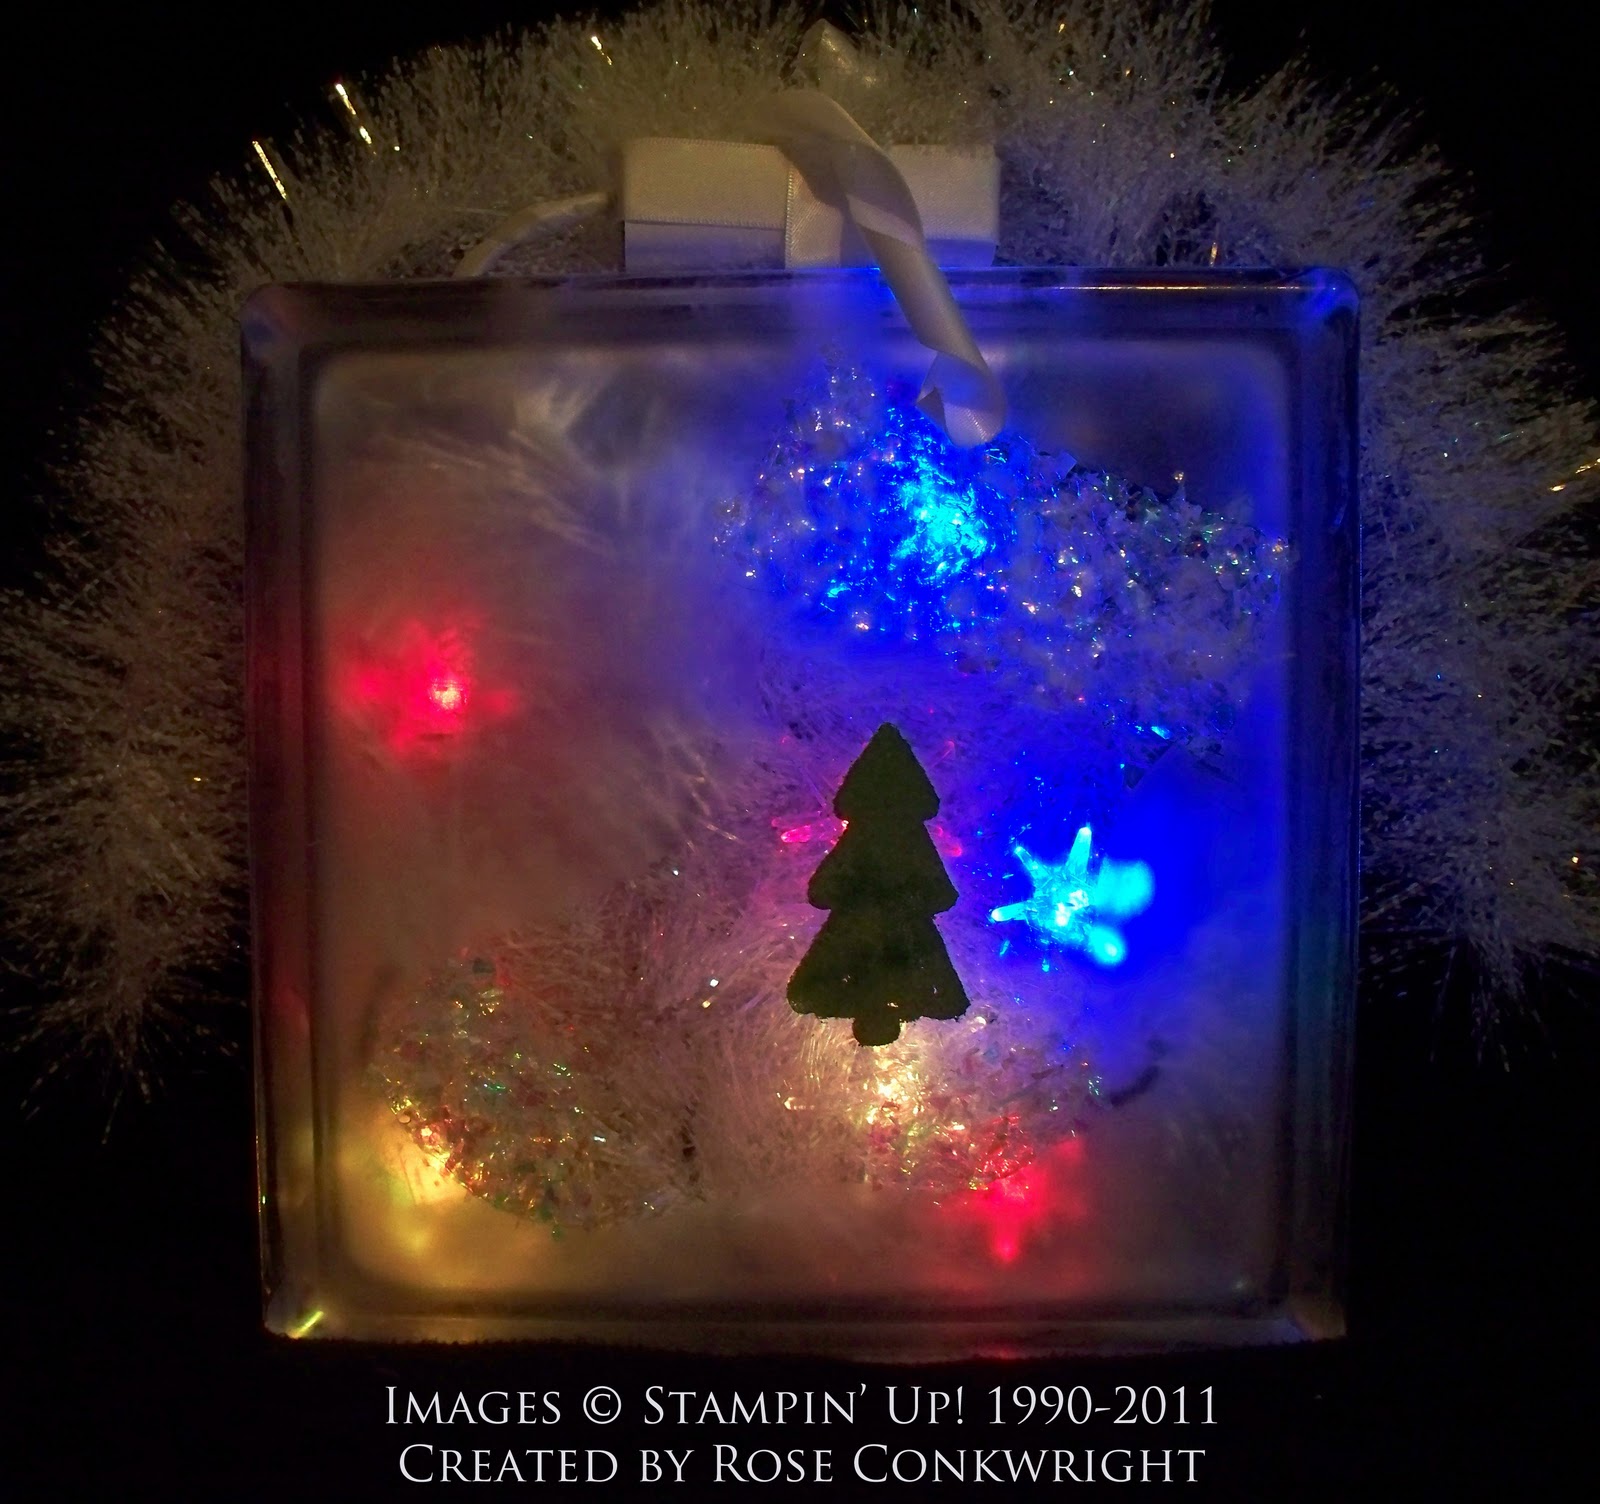
I was the lucky person who got this glass block which was made by Rose Conkwright.  The first picture shows how she etched and embossed the glass.  The second photo shows how it looks when you turn on the lights inside the block.  I enjoy having this as one of the Christmas decorations in my home.


Teresa Goff made this vase filled with ornaments.  My photo doesn't do this project any justice.  You can barely see one of the snowflake rub ons that she added to the vase. 


Terry made this scarf using some of our Stampin' Up! exclusive fabric.  It's nice and warm with the fleece backing.  I love the fleece and fabric button on the scarf.  The big button is from our Holiday mini catalog.

It's been a lot of fun sharing the talent in our group.  Several people have asked where we get our ideas.  The answer is from many different places.  Stampin' Up! has a demonstrator-exclusive site that has over two hundred thousand samples!  There are many other Stampin' Up! websites where you can find lots of ideas using our products.  Many of us are Pinterest fans.  You can see how I got some of my ideas on my From This to That Board.  And we share projects in our monthly demonstrator meetings. These are just a few of the places where we get our ideas.  The more ideas you see regularly, the more opportunities you have to be inspired. 

If you have considered becoming a Stampin' Up! demonstrator and would like more information, please contact me at sharon@sharoncheng.com.  We have both business-building demonstrators and hobbyists in our group.   There is a special for demonstrators who sign up during Sale-A-Bration which starts on January 24th.  You can get our starter kit at the discounted price of $125 AND a free paper pack or digital download every month for the rest of the year.  This may be the best way to use any Christmas money that you get and give yourself a gift that keeps on giving!

Creatively yours,

Sharon Cheng
My Pinterest Boards


Monday, December 19, 2011

Still More Christmas Projects from our Demonstrator Swap

Here are still more pictures of the items we had in our swap for our demonstrator Christmas party.  I was talking to someone from Stampin' Up!'s home office and he said he was impressed with the quality of work that our group does.  I had to agree!

This 12 x 12 canvas was made by Karen Parker.  It hangs up on the wall with a picture of someone who has been naughty or nice!

Linda Brown made this machine applique towel using our Big Shot stocking die.  Linda is a talented seamstress who combines her love of fabric and sewing with Stampin' Up! products.

Marilyn Young made this fabulous shadow box filled with flowers.  Notice how she did some doodling in the flowers from Flower Fancy.  Marilyn teaches this technique in some of her classes.  You can find out more on her blog at Blessed Creativity.

I'll post the last of our Christmas projects tomorrow.  I hope you have enjoyed seeing the diverse creativity in our group.  It's so inspiring to be with this group of women!

Creatively yours,

Sharon Cheng
My Online Store
My Pinterest Boards
My Facebook Business Page


Tuesday, December 13, 2011

Looking for a Last Minute Stocking Stuffer?


Are you looking for a last minute stocking stuffer?  Check out this mini dry erase board.  I made it by designing a 4 x 6 inch image in My Digital Studio and putting it in a 4 x 6 inch acrylic frame.


Then I added this  piece of card stock on the back to hold the dry erase marker.  It's a quick and easy project that you can personalize to fit that special person in your life. 

In a hurry?  You can get the image and instructions for free when you like my Facebook business page

Creatively yours,

Sharon Cheng
Richland Hills, TX
My Online Store
My Pinterest

Friday, December 9, 2011

More Demonstrator Gifts

Here are some more of the gifts that we had at our Christmas party.  This arrangement was made by Gail Peterson.  You can find her blog at Gail Peterson's Crafts.   In the close up picture here, you can see how she stamped and punched out different embellishments.


This is how the arrangement looks in a vase.

Joni Lawrence made this Christmas tree out of rosettes.  She used our red glimmer paper to make the tree skirt and the ball on top.  You can her blog at jonilawrence.com

Judy Hogan made her project using a silver picture frame.  It's a beautiful home decor item to celebrate Christmas.  You could use the same idea for a wedding gift.  Judy's blog is at bluebonnetstampers.

Believe it or not, there are still more gifts to post.  I plan to get that done this weekend!

Creatively yours,

Sharon Cheng
Richland Hills, TX
My Online Store