Home Classes Tutorials Online Store Join

Thursday, October 1, 2015

Timeless Elegance Again


These 3 cards use Stampin' Up!'s Timeless Elegance Designer Series Paper,  one of the most versatile papers in the 2015-2016 catalog.  I made these cards to fit 2 of the October Splitcoaststampers Challenges.  One is to use Black, White and Red (or read).  The other challenge was to use a print whether it was a designer series paper or stamped images.


The Timeless Elegance Designer Series Paper has Basic Black or Sahara Sand images printed on Very Vanilla.  It is so easy to customize your paper by adding color to the Very Vanilla portion of the designs.


This card with the roses is quick and easy.  All you do is sponge on Real Red onto the roses that are already printed and shaded on the paper.  I also used a blender pen to color in the sections that were too small for the sponge.  One of my earlier posts shows how I used the same paper and made yellow and pink roses.


For this card, sponge Real Red across the entire piece of the mostly Basic Black background and use a blender pen to add Real Red to the small flowers.  It's easy to "fussy cut" the strip of flowers from the 12 x 12 sheet of paper.


When I first saw this bold black and vanilla stripe design, I couldn't figure out how to use it.  Then I realized that I could stamp on the Very Vanilla stripes.  The leaves from the hostess stamp set, Floral Wings, along with the small rose were perfect for stamping onto this paper.  I used Tuxedo Black to stamp the leaves. You will have some black on black where the leaves overlap onto the Basic Black stripe that adds a little bit of texture but is barely visible.  You then stamp the small rose with Real Red.

I hope you are inspired to find different ways to use Stampin' Up!'s Timeless Elegance Designer Series Paper.  And be sure to visit Splitcoaststampers to see how other Stampin' Up! demonstrators met these two challenges.  Here are all of my Creative Crew Splitcoaststampers Challenges for October.
Built for Free Using: My Stampin Blog
Visit my online store to get what you want for your next project.  Remember that when you purchase $25 or more in product, you are eligible for my Rewards Program.

Creatively yours,

Sharon Cheng
Richland Hills, TX
My Online Store

Awards Night Headlines


Making a scrapbook page look like the front page of a newspaper for a Splitcoaststampers challenge was the most intimidating challenge for me. After I was done, however, I loved the page and plan to use this idea for more of my Project Life pages about Inspire, Create, Share 2015, Stampin' Up!'s convention.

I knew that I was going to use this picture from Awards Night.  The theme was the 1920's.  All of our group dressed up for the party.

I decided to use Microsoft Word to make the "headlines" and to write the "article".  The headlines were pretty easy.  I did copy and paste the image from Inspire, Create, Share 2015 for the newspaper "logo".  By using the columns and justify features, the journaling looks more like newspaper columns.  The page is 6 x 8 1/4" to fit the Project Life full page.

I can't wait to change the Word document to feature the highlight of each day of convention.  Be sure to check out the Splitcoaststampers Challenge to see what other Stampin' Up! demonstrators have done for this front page challenge.

Visit my online store to get what you want for your next project.  Remember that when you purchase $25 or more in product, you are eligible for my Rewards Program.

Creatively yours,

Sharon Cheng
Richland Hills, TX
My Online Store

October Splitcoaststampers Challenges


This is the first card that I made for the October Splitcoaststampers Challenges.  The challenge was to use Black, White and Red (or read) for your project.  This card uses the A World of Thanks stamp set (139315  $15).


The next challenge was to use a "print" from designer series paper or stamped images.  I decided to combine the color and print challenges to make these three cards.  You can get more details about how I used Stampin' Up!'s Timeless Elegance Designers Series Paper to make all three cards.  The paper uses Basic Black, Sahara Sand and Very Vanilla.  It's quick and easy to add accent colors of your choice.


The front page challenge was very different for me and I ended up loving this page. It features my group, Sharing Creativity and Company at Awards Night at Inspire, Create, Share 2015. Here are more details about how I created this page using Microsoft Word.


And last, but not least, are making Halloween projects!  Here is my mini luminaria.  See how I made this and other Halloween projects using Stampin' Up!'s Among the Branches Stamp Set.

Visit my online store to get what you want for your next project.  Remember that when you purchase $25 or more in product, you are eligible for my Rewards Program.

Creatively yours,

Sharon Cheng
Richland Hills, TX
My Online Store

Tuesday, September 1, 2015

Splitcoaststampers Creative Crew September Challenges


I am so excited to share the Christmas projects I've been making for the September Creative Crew gallery.  This Christmas tag with a punch art tree fits two of the challenges:  DSP/Color Focus and
Holiday Focus.  For the color focus challenge, I was supposed to pick my favorite designer series paper in Stampin' Up!'s Holiday catalog.  I could not decide between Season of Cheer and Home for Christmas, so I used both of them!  Home for Christmas has several images that are perfect for punching out single images or fussy cutting.  Season of Cheer is more user friendly for cutting up into strips or punching out repetitive designs.  Check out my tutorial for making this Christmas tag and visit the Splitcoaststampers gallery for more Christmas inspiration.


Another challenge was to feature one of the gift packaging ideas on pages 150 and 151 in Stampin' Up!'s annual catalog.  I made this Snow Place gift bag using the Gift Bag Punch Board.  See how I used punches and framelits to make this Snow Place gift bag go quickly for a demonstrator swap!


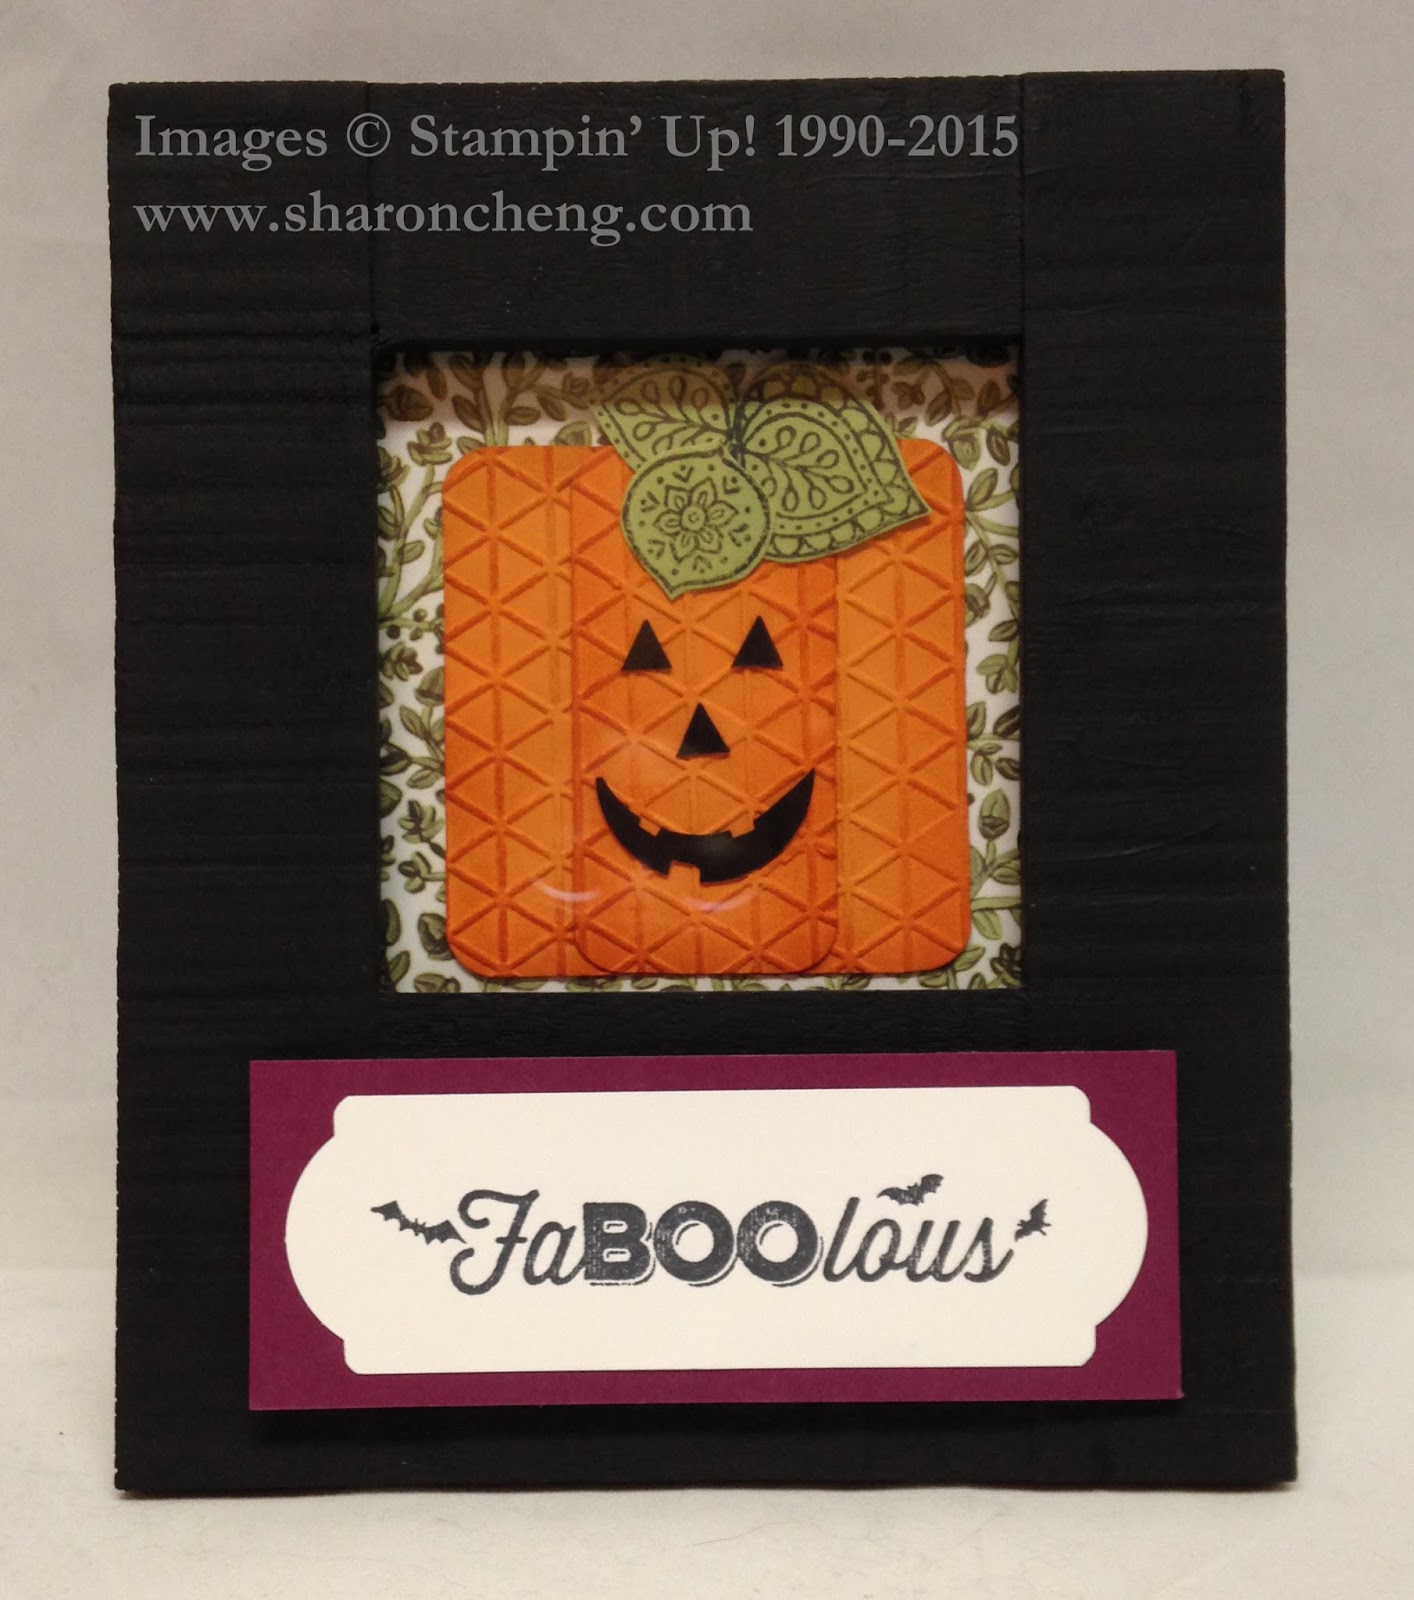
This Holiday Frame is a fun project that I designed for Halloween, Thanksgiving and Christmas for the Splitcoast challenge to make a gift item.  By changing the insert and the labels, you use one frame for all three holidays.  Check out how I used window sheets and magnets to make changing out the Holiday Frame quick and easy.
Built for Free Using: My Stampin Blog

Visit my online store to get what you want for your next project.  Remember that when you purchase $25 or more in product, you are eligible for my Rewards Program.

Creatively yours,

Sharon Cheng
Richland Hills, TX
My Online Store

Quick and Easy Holiday Frame


This quick and easy Holiday Frame is designed to fit many different holidays, including Halloween, Thanksgiving and Christmas.  You only need one frame and some magnets to make changing things for each holiday easy peasy.  Stampin' Up!'s Hostess Stamp Set, Six Sayings (139849 $11), is perfect for this project.


Here is the Thanksgiving version.


Notice that the pumpkin is the same for Halloween and Thanksgiving?  All I did to turn it into a jack-o-lantern was to add the window sheet with the face.  The small pieces are easy to stick onto the window sheet using Stampin' Up!'s new Fine-Tip Glue Pen.

If you look closely, you can see the magnetic strip on the bottom of the frame.   I also have magnets on the back of each label so they are easy to change for each holiday.


Here is how I used the Note Tag Punch to punch each end of the Halloween label.  For Thanksgiving, I used the Chalk Talk Framelits.


For Christmas, I used the Ornate Tag Topper and Banner Triple Punch.

Have fun making your Holiday Frame to fit your favorite holidays.  And stay tuned for future projects using this same frame.

See more Christmas and Holiday projects that I made for the Splitcoaststampers Creative Crew September gallery.
Built for Free Using: My Stampin Blog

Visit my online store to get what you want for your next project.  Remember that when you purchase $25 or more in product, you are eligible for my Rewards Program.

Creatively yours,

Sharon Cheng
Richland Hills, TX
My Online Store

Snow Way Gift Bag


I love penguins so the Snow Place Bundle was one of my first must-haves from Stampin' Up!'s Holiday catalog.  At Stampin' Up!'s Convention, we got to use the Gift Bag Punch Board.  That inspired me to make this Snow Place Gift Bag for our demonstrator swap where the theme was Bags, Tags and Boxes.  And being a big fan of Stampin' Up!'s bundles, I also had to use the Flurry of Wishes Bundle to add snowflakes.


Thanks to the framelits, it was easy to die cut the Santa hat.  The Banner Triple Punch and Snow Flurry Punch make it quick and easy to add the embellishments.  And I have fallen in love with the Real Red PomPom Trim.


Here is the video tutorial for making this gift bag.  If you have never used the gift bag punch board, be sure to watch Stampin' Up!'s how to video for this punch board.  

The colors I used for this project were Soft Sky for the gift bag, Tuxedo Black, Real Red, Island Indigo and Daffodil Delight for the penguin's beak and feet. 

See more Christmas and Holiday projects that I made for the Splitcoaststampers Creative Crew September gallery.
Built for Free Using: My Stampin Blog

Visit my online store to get what you want for your next project.  Remember that when you purchase $25 or more in product, you are eligible for my Rewards Program.

Creatively yours,

Sharon Cheng
Richland Hills, TX
My Online Store

Punch Art Tree Tutorial


This Punch Art Tree tutorial shows you how to make this quick and easy tree that you can use on cards, tags and other Christmas projects.  It combines two of my favorite designer series papers in the Holiday catalog:  Season of Cheer and Home for Christmas.


You'll use 3 of Stampin' Up!'s scallop circle punches:  1 1/4", 1 3/4" and 2 3/8".  Punch out one scallop circle with each punch and fold on the lines as shown.  Fold back 4 scallops on each side.  You'll leave one scallop at the top and 5 at the bottom.


Attach each layer with one Stampin' Dimensional at the bottom as shown.  After you make your tree, I recommend Tear and Tape adhesive to attach the tree to the tag.  The star is attached to the tag using a Stampin' Dimensional.


Here is the video tutorial for making this Punch Art Christmas Tree.


The Santa is fussy cut from the Home for Christmas Designer Series Paper and the other stars were punched using the Confetti Stars Border punch.  You'll love using Stampin' Up!'s new Fine-Tip Glue Pen to attach the small stars.

See more Christmas and Holiday projects that I made for the Splitcoaststampers Creative Crew September gallery.
 
Built for Free Using: My Stampin Blog

Visit my online store to get what you want for your next project.  Remember that when you purchase $25 or more in product, you are eligible for my Rewards Program.

Creatively yours,

Sharon Cheng
Richland Hills, TX
My Online Store